
 Home
Home
 USA
USA
Pegasus Bridge, D-Day, Normandy - Here are the third batch of photos from Normandy... I took these at the Orne Canal Bridge, more commonly known as Pegasus Bridge now, in honor of its brave liberators. The British under Major Howard swooped in silently with gliders. Howard's was the nearest, and landed just 150 feet from the bridge. The other two landed moments after just yards away. All arrived in the middle of the night and then stormed the position. Like everything else I saw on this trip, it's moving, though exhilarating since the casualty count wasn't high.
The bridge that spans the canal is actually not the original one. That one has been removed and is behind the museum. But the "new" bridge (not sure when it was built) is a scaled up replica that was scaled up to handle bigger ships, I suppose. But they made it the exact same aesthetically in honor of Howard and his men.
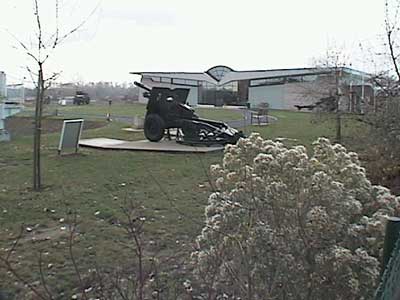
Like at several other sites, a tank (in this case a Royal Marines Centaur) "guards" the site, though it was placed there in the 1970s, I think, by - and in honor of - one of the British engineering battalions that came through later.
I got there very early in the morning, just after La Merveille. The rest of the photos have been overexposed somewhat to make it seem later.
Narayan
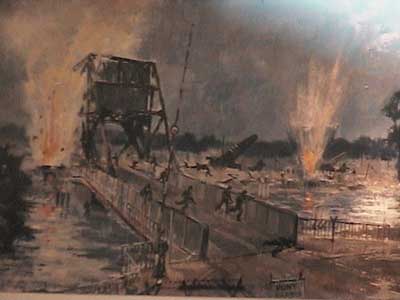
Left: Painting of the battle
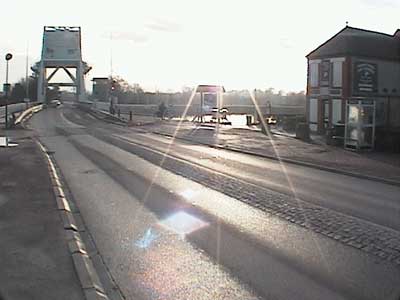
Right: Current view.
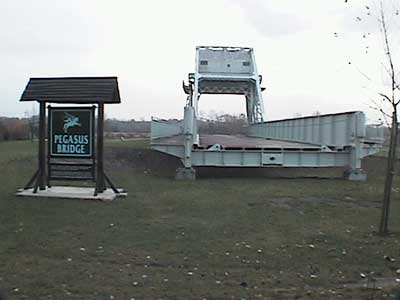
Left: The actual bridge behind the museum adjacent to the canal.
Right: The museum is modest, but nicely done - note the Pegasus logo built into the design - and well worth visiting if you have time. Plus it's only a stone's throw away from today's bridge.
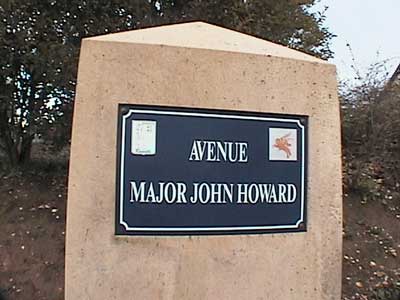
Left: The museum is located on Avenue Major John Howard, of course.
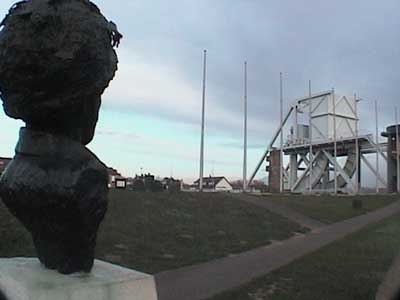
Right: Major John Howard's bust gazing at the new bridge. This is from where his glider landed. Note how close it is.
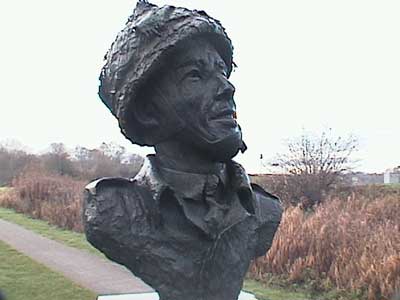
Left: Major John Howard's bust gazing at the new bridge.
Right: The view today. The building at right was the first one liberated in all of France, depending on whose version of history you believe, since the folks in St. Mere Eglise say the same thing. And so does the entire town of Bayeux.
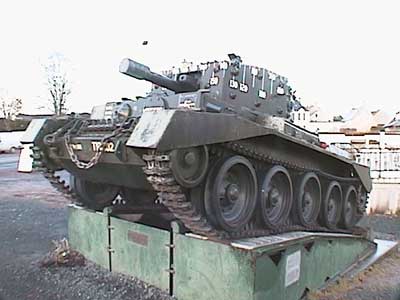
Left: This Royal Marines Centaur tank "guards" the road across from the first house to be liberated and faces the bridge. I took this photo from the same vantage point as the previous photo. Thanks to Tom Cole for the information about this tank. He writes that this is a Royal Marines Centaur tank also known as the Cruiser MkVIII or A27 L. He also writes "This was a Cromwell tank that was powered by a Liberty engine (WW1 vintage) and when the manufacturer Leyland took over production they changed the name from Cromwell to Centaur. They look very similar. The one in the museum is one of the 80 Centaur IV armed with a 95mm howitzer that supported the RM during the D Day landings and if you look at the markings on the turret you can see they are in degrees. The idea was that the tank would have a (brave) Marine sat behind the turret "spotting" targets and would relay the angle of a target to the gunner by lining up the scale on the turret with the target. The gunner would turn the turret to the angle the Spotter said and fire…sometimes they even hit the target!"
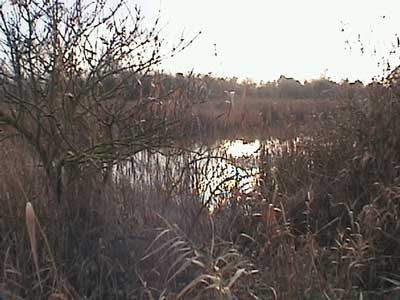
Right: The gliders came down here between the Orne Canal and the Orne River. There is only perhaps a 100 foot gap between the two, so landing here in the middle of the night was very risky.
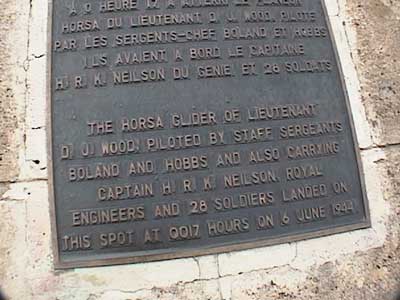
Left: A commemorative plaque indicates the landing position of each of the three Horsa gliders.
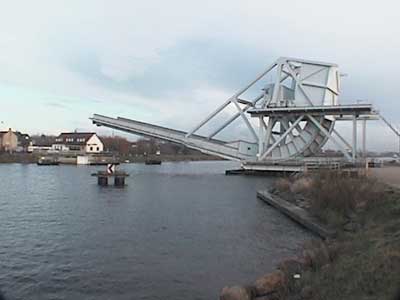
Right: The new bridge still operates as a lifting bridge to allow ships to go out to sea (past the bridge) or inland toward Caen (toward the camera).
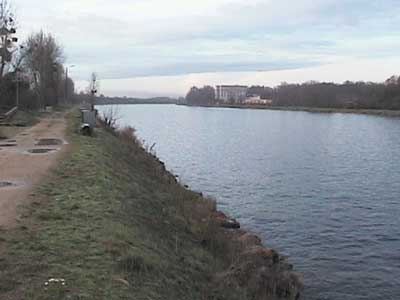
Left: This is the canal as it beelines to Caen, a few miles inland.