Home
Home Hearts of Iron


Tanks - Matilda Tanks
(List of photos at bottom of page).
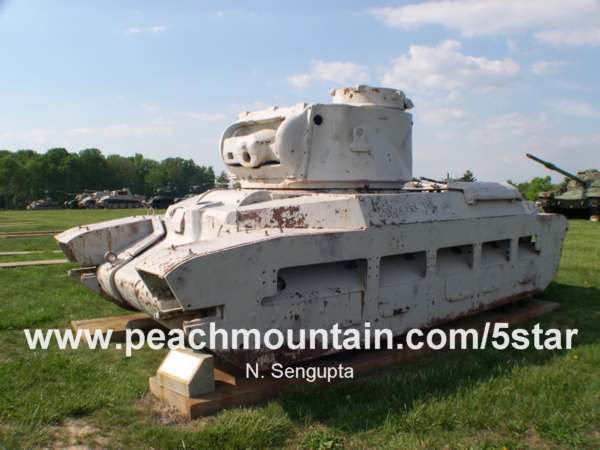
Matilda II tank

Matilda II tank
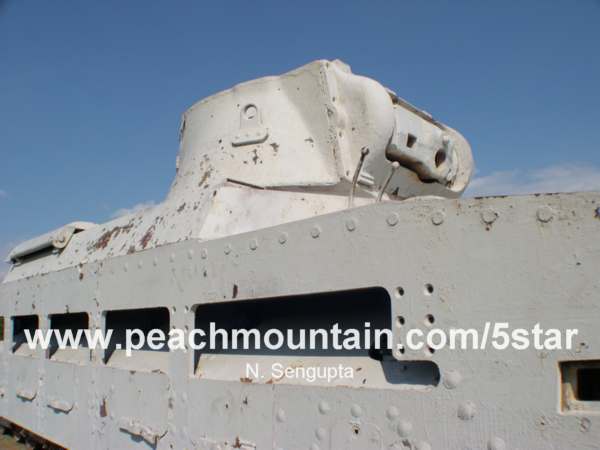
Matilda II tank
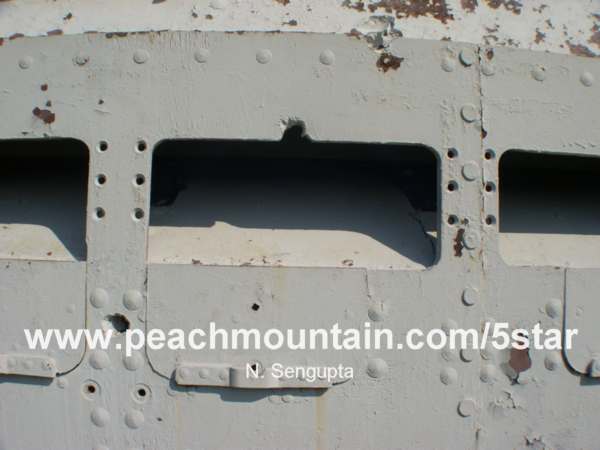
Matilda II tank

Matilda II tank - interior from the rear of the turret toward the front of the turret and gun mount at right
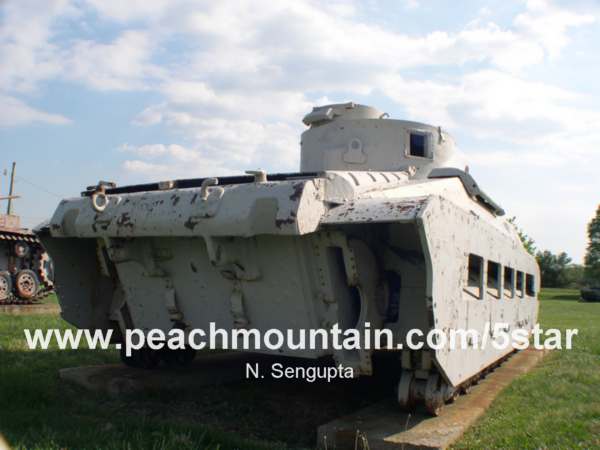
Matilda II tank
Photos from US Army Ordnance Museum/Aberdeen Proving Grounds
Please email me for high resolution photos for publication. US Army Ordnance Museum/Aberdeen Proving Grounds photo portfolio by Narayan Sengupta.


 French Military Victories...